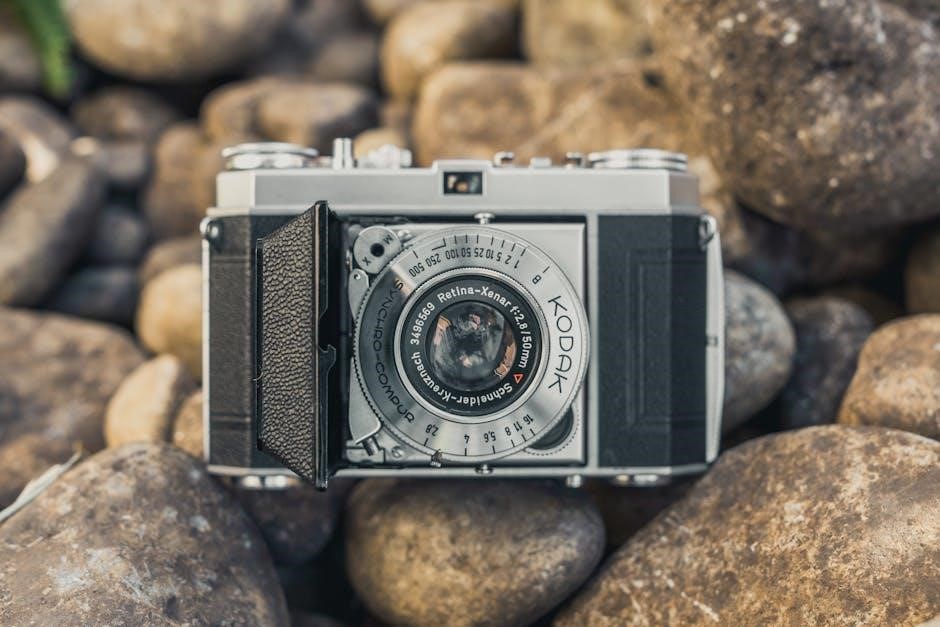
The DC403 is a versatile 44MP digital camera with 1080P video, 16X zoom, and autofocus, designed for kids and teens, perfect for capturing life’s precious moments effortlessly.
1.1 Overview of the DC403 Camera Model
The DC403 is a 44MP digital camera with 1080P video resolution, featuring 16X zoom and autofocus. Designed for kids and teens, it includes a 32GB SD card, anti-shake technology, and a compact, portable design. Its user-friendly interface and vibrant color options make it an ideal gift for beginners, ensuring high-quality photos and videos with ease and convenience.
1.2 Key Features and Specifications
The DC403 features a 44MP CMOS sensor, 1080P FHD video recording, and 16X digital zoom. It includes anti-shake stabilization, autofocus, and a compact, lightweight design. The camera supports a 32GB SD card, with a 2.4-inch LCD screen for easy navigation. It operates on a rechargeable lithium battery and comes with a USB cable, charger, and user manual, making it a complete photography kit for beginners and kids.
1.3 Safety Precautions and Important Notes
Handle the DC403 camera with care to avoid damage. Avoid exposing it to extreme temperatures, water, or humidity. Use only the provided charger and battery to prevent malfunctions. Keep the lens clean and dry to ensure optimal image quality. Store the camera in a protective case when not in use. Always format the SD card in the camera before first use. Follow all safety guidelines to maintain performance and longevity of the device.
Setting Up Your DC403 Camera
Setting up your DC403 camera involves unboxing and inspecting the device, inserting the battery, charging it, and formatting the SD card. Perform initial setup to configure basic settings for optimal functionality.
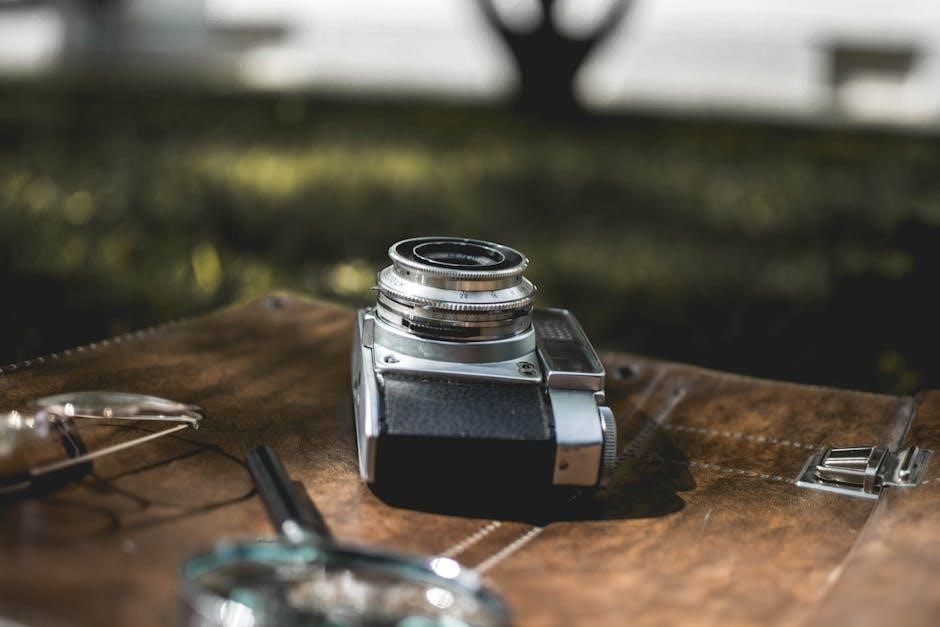
2.1 Unboxing and Physical Inspection
When unboxing your DC403 camera, ensure all accessories are included: the camera, USB cable, charger, battery, lanyard, cleaning cloth, and user manual. Perform a physical inspection to check for any visible damage or defects. Familiarize yourself with the camera’s exterior, including the lens, buttons, and ports. Avoid touching the lens to prevent smudges. Read the manual to understand proper handling and safety guidelines before first use.
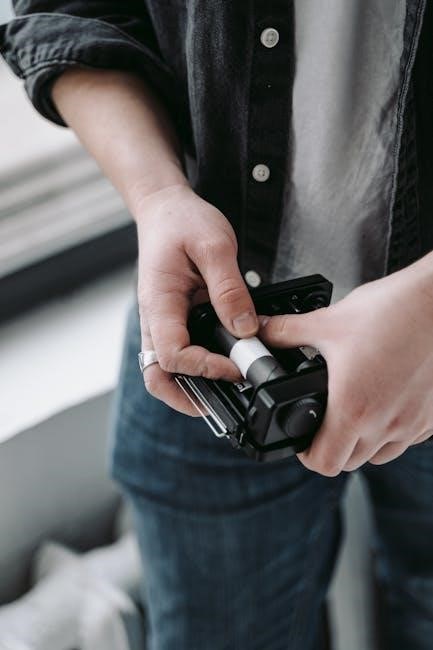
2.2 Inserting the Battery and Charging
Insert the lithium battery into the DC403 camera by opening the battery compartment, located at the bottom. Align the battery with the terminals, ensuring it clicks securely into place. Charge the battery using the provided USB cable and charger. Connect the camera to a power source and allow it to charge fully before first use. Avoid overcharging to maintain battery longevity and performance.
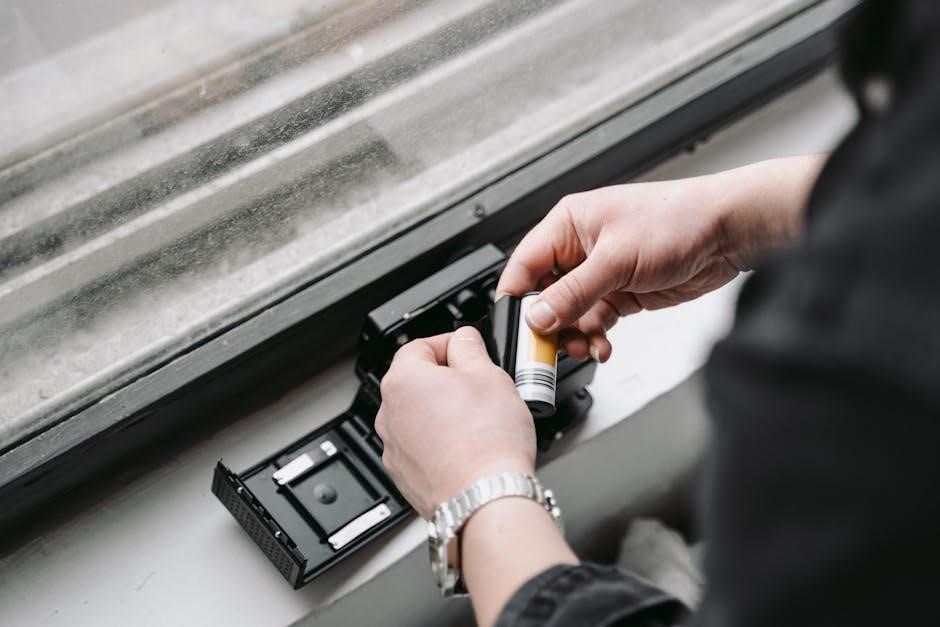
2.3 Inserting and Formatting the SD Card
Insert the SD card into the designated slot on the side of the DC403 camera, ensuring it is properly seated and facing the correct direction. Format the SD card using the camera’s menu to optimize performance. Note that formatting will erase all data on the card. The camera is compatible with up to 32GB SD cards, which are recommended for storing high-resolution photos and videos efficiently.
2.4 Initial Setup and Basic Configuration
Turn on the DC403 camera and follow the on-screen instructions to set the date, time, and language. Review and confirm the settings to ensure proper functionality. Navigate through the menu to familiarize yourself with basic options like resolution, autofocus, and video mode. Once configured, you’re ready to start capturing photos and videos. Ensure all settings are saved before exiting the menu to maintain your preferences for future use.
Basic Camera Operations
Learn to use the DC403 camera’s essential functions, including capturing photos, recording videos, and utilizing the zoom feature. Understand the fundamental controls for seamless operation.
3.1 Taking Photos and Recording Videos
The DC403 camera allows you to capture high-quality 44MP photos and 1080P videos. Press the shutter button to take photos or hold it for video recording. Use the zoom function to frame your shots perfectly. The autofocus feature ensures sharp images, while anti-shake technology stabilizes video recording. Switch modes easily via the menu to adapt to different lighting conditions and scenes, making it ideal for kids and beginners to capture life’s moments effortlessly.
3.2 Using the Zoom Function
The DC403 camera features a 16X zoom, allowing you to capture distant subjects clearly. To use the zoom, press the zoom button (+/-) to adjust the focal length. For precise control, press and hold the button to smoothly transition between zoom levels. The anti-shake feature helps stabilize images during zoom, ensuring sharp photos and steady videos. Use the zoom to frame your shots perfectly without moving closer to the subject.
3.3 Accessing and Navigating the Menu
To access the menu, press the menu button, then use the up/down arrow keys to navigate through options. The DC403 menu offers settings like autofocus, playback, and zoom controls. Highlight your desired option and press OK to select. Use the left/right arrows to adjust settings. The menu is user-friendly, allowing quick adjustments for optimal camera performance. Familiarize yourself with the menu to enhance your shooting experience and customize settings to your preferences.
Advanced Features and Settings
Discover advanced features like autofocus, anti-shake, and zoom controls. Explore playback options, webcam functionality, and customizable settings to enhance your photography experience with the DC403 camera.
4.1 Understanding Autofocus and Anti-Shake
Autofocus ensures sharp images by adjusting lens focus automatically. Anti-shake technology reduces blur from hand movement. These features work together to deliver clear, stable photos and videos, even in motion or low light conditions. Adjust autofocus modes via the menu for optimal performance in various shooting scenarios. Proper use enhances image quality and simplifies photography for users of all skill levels.
4.2 Playback and Reviewing Media
Access playback mode by pressing the dedicated button. Review photos and videos, delete unwanted files, or view them in a slideshow. Zoom in on images to check details. Protect important files from accidental deletion. Use the USB cable to transfer media to your computer for further editing or storage. This feature ensures easy management and enjoyment of your captured moments.
4.3 Using the Camera as a Webcam
Connect the DC403 camera to your computer using the USB cable. Turn on the camera and select the correct mode for webcam functionality. Install any necessary drivers or software. The camera’s high-resolution sensor and autofocus ensure clear video quality for conferencing or streaming. This feature makes it ideal for remote meetings or live broadcasts, offering versatility beyond traditional photography.
Transferring Files to Your Computer
Connect the DC403 to your computer via the type-C cable. Turn on the camera, select MSDC mode from the dialog box, and transfer files seamlessly.
5.1 Connecting the Camera to Your Computer
To connect the DC403 camera to your computer, use the provided type-C cable. Ensure the camera is turned on. A dialog box will appear on the screen. Select MSDC mode to enable file transfer. The camera will then be recognized by your computer, allowing you to access and transfer photos and videos efficiently. This method ensures a quick and straightforward connection for media management.
5.2 Downloading Photos and Videos
Once connected, your computer will recognize the DC403 camera. Open the device folder, typically labeled as “DCIM” or similar. Navigate through the folders to locate your photos and videos. Select the desired files and drag them to your computer or use the “Import” feature in your media management software. This allows you to transfer and organize your media efficiently for editing, sharing, or storage. Ensure all files are copied before disconnecting the camera.
5.3 Organizing and Managing Your Media
After transferring, organize your photos and videos into folders by date, event, or category. Use photo management software like Adobe Lightroom or Google Photos for easy sorting and editing. Create backups on external drives or cloud storage for safekeeping. Ensure all files are named clearly for quick access. Regularly review and delete unwanted content to maintain storage efficiency and focus on your best shots.
Maintenance and Troubleshooting
Regularly clean the lens with a soft cloth and avoid exposure to harsh chemicals. Reset the camera to default settings if issues arise, ensuring optimal performance always.
6.1 Cleaning and Caring for the Camera
Use a soft, dry microfiber cloth to gently wipe the lens and exterior to prevent scratches. Avoid harsh chemicals or abrasive materials. Store the camera in a protective case when not in use to prevent damage. Regularly clean the lens to ensure clear photos and videos. Handle the camera with care to maintain its functionality and extend its lifespan.
6.2 Resolving Common Issues
Reset the camera by turning it off, removing the battery, and reconnecting after 10 seconds. For SD card issues, format the card in the camera settings. If photos fail to save, ensure the SD card is properly inserted and has sufficient space. Charging problems? Check the USB cable and charger for damage. Refer to the manual for more detailed troubleshooting solutions to maintain optimal performance.
6.3 Updating Firmware (If Applicable)
To update the DC403 camera’s firmware, connect it to a computer using a USB cable. Ensure the camera is turned off and the battery is fully charged. Download the latest firmware from the official website, then follow the on-screen instructions to complete the update. Avoid interrupting the process to prevent damage. Refer to the user manual for detailed steps and ensure the camera is properly recognized by your computer before proceeding.
Accessories and Optional Equipment
The DC403 camera includes a USB cable, charger, lithium battery, lanyard, lens cleaning cloth, and a 32GB SD card. Optional accessories include additional batteries and memory cards.
7.1 Included Accessories
The DC403 camera comes with essential accessories, including a USB cable for data transfer, a charger for the lithium battery, a wrist strap for secure handling, and a lens cleaning cloth to maintain clarity. Additionally, a 32GB SD card is provided for storing photos and videos. These items ensure you have everything you need to start using your camera right out of the box.
7.2 Recommended Additional Accessories
For enhanced usability, consider adding a tripod for stability, an extra battery for extended shooting sessions, and a memory card reader for faster file transfers. A protective case ensures safe transport, while a polarizing filter can improve image quality by reducing glare. These accessories help maximize the camera’s functionality and longevity, making it a complete photography kit for users of all skill levels.
Mastering the DC403 camera opens up endless creative possibilities. Always refer to the manual for optimal settings and troubleshooting. Regularly update firmware and maintain your camera for longevity. Experiment with different modes and accessories to enhance your photography experience. With practice, you’ll unlock the full potential of your DC403, capturing stunning moments effortlessly. Happy shooting!