Cuisinart Digital Air Fryer Toaster Oven Manual: A Comprehensive Guide
Welcome! This manual unlocks your Cuisinart’s potential, streamlining cooking and maximizing efficiency. Explore features for a productive and enjoyable culinary experience.
Congratulations on selecting the Cuisinart Digital Air Fryer Toaster Oven! This versatile appliance combines air frying, baking, toasting, and broiling capabilities into one convenient unit. Designed for efficiency and ease of use, it’s a gateway to healthier and faster cooking.
This manual serves as your comprehensive guide, detailing everything from initial setup to advanced cooking techniques. We’ll explore how to leverage its digital controls and various function buttons to achieve perfect results every time. Prepare to streamline your kitchen workflow and unlock a world of culinary possibilities with your new Cuisinart appliance!
Unboxing and Initial Setup
Carefully unpack your Cuisinart Air Fryer Toaster Oven, ensuring all components are present: the oven itself, air fry basket, bake pan, broil rack, and this manual. Remove all packaging materials, both inside and outside the oven. Before first use, wipe the interior with a damp cloth to remove any manufacturing residue.
Place the oven on a stable, heat-resistant surface with adequate ventilation. Plug it into a grounded electrical outlet. We recommend performing a test run – set the oven to 350°F (175°C) and run for 15 minutes – to burn off any initial odors. Your Cuisinart is now ready for culinary adventures!
Key Features and Benefits
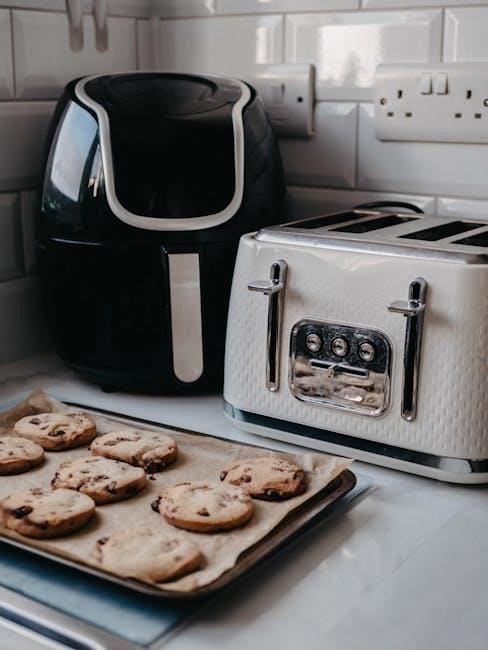
Experience versatility! The Cuisinart Digital Air Fryer Toaster Oven boasts seven functions: Air Fry, Bake, Broil, Toast, Warm, Pizza, and even a dedicated Bagel setting. Enjoy healthier cooking with up to 75% less fat using the Air Fry technology. Its spacious interior accommodates a 12-inch pizza or six slices of toast.
Benefit from precise temperature control and a convenient digital timer. The oven’s easy-to-clean, non-stick interior simplifies maintenance. Its sleek design complements any kitchen décor. Unlock a world of culinary possibilities with this all-in-one appliance, streamlining meal preparation!

Understanding the Control Panel
Navigate effortlessly! The intuitive digital control panel provides precise command over functions, temperature, and time for optimal cooking performance.
Digital Display Overview
The digital display is your central hub for monitoring and controlling your Cuisinart Air Fryer Toaster Oven. It clearly showcases the selected function – Air Fry, Bake, Toast, or Broil – alongside the precisely set temperature, typically displayed in Fahrenheit. Remaining cooking time is prominently featured, counting down to zero for convenient monitoring.
Furthermore, the display illuminates key indicators, such as when the oven is preheating or actively cooking. Some models may also include icons for specific settings like the bagel function or a delay start timer. Error codes, should they occur, will also appear on the display, prompting you to consult the troubleshooting section of this manual for resolution. Understanding these visual cues ensures optimal operation.
Function Buttons Explained (Air Fry, Bake, Toast, Broil, etc.)
Each function button initiates a specific cooking mode on your Cuisinart oven. The ‘Air Fry’ button activates rapid air circulation for crispy results with minimal oil. ‘Bake’ provides conventional oven heating, ideal for cakes and casseroles. ‘Toast’ is dedicated to browning bread products, with adjustable shade settings. ‘Broil’ delivers intense top-down heat for searing and browning.
Additional buttons may include ‘Bagel’ for perfectly toasted bagels, ‘Warm’ to keep food at serving temperature, and ‘Cancel’ to halt the current operation. The ‘Start/Pause’ button initiates or temporarily stops the cooking cycle. Familiarizing yourself with each button’s purpose unlocks the full versatility of your appliance.
Temperature and Time Settings
Precise temperature and time control are crucial for optimal cooking. Your Cuisinart oven features digital controls for setting both. Temperature is adjustable in increments, typically ranging from 80°F to 450°F (20°C to 232°C), catering to diverse recipes. Time settings allow for cooking durations up to several hours, ensuring flexibility.
Use the ‘+’ and ‘-’ buttons to adjust values. The display clearly shows the selected temperature and remaining cooking time. Remember to consult recipes for recommended settings, and adjust based on your preferences. Accurate settings guarantee perfectly cooked meals every time, maximizing the oven’s capabilities.

Using the Air Fry Function
Experience crispy perfection! The Air Fry function delivers healthier, delicious results with little to no oil, utilizing rapid hot air circulation technology.
Optimal Air Frying Temperatures
Achieving the perfect crisp requires understanding temperature control. For most foods, 375°F (190°C) to 400°F (200°C) provides excellent results. Delicate items like fish or vegetables benefit from lower temperatures, around 350°F (175°C), preventing burning.
Thicker cuts of meat, such as chicken thighs, may require 400°F (200°C) for optimal cooking. Always consult recipes for specific temperature recommendations. Remember, preheating is crucial for even cooking and a crispy exterior. Experimenting with slight adjustments can tailor the results to your preference, ensuring consistently delicious air-fried meals. Monitoring food during the process is also recommended.
Recommended Air Frying Times for Common Foods
Timing is key to perfectly air-fried dishes! French fries typically require 15-20 minutes at 400°F (200°C), shaking halfway through. Chicken wings take approximately 20-25 minutes at the same temperature, flipping for even crisping. For vegetables like broccoli or Brussels sprouts, 10-12 minutes at 380°F (190°C) is ideal.
Salmon fillets usually cook in 8-10 minutes at 375°F (190°C). These are estimates; adjust based on food thickness and desired doneness. Regularly check for internal temperature using a food thermometer to ensure safety and optimal results. Consistent monitoring guarantees delicious outcomes.
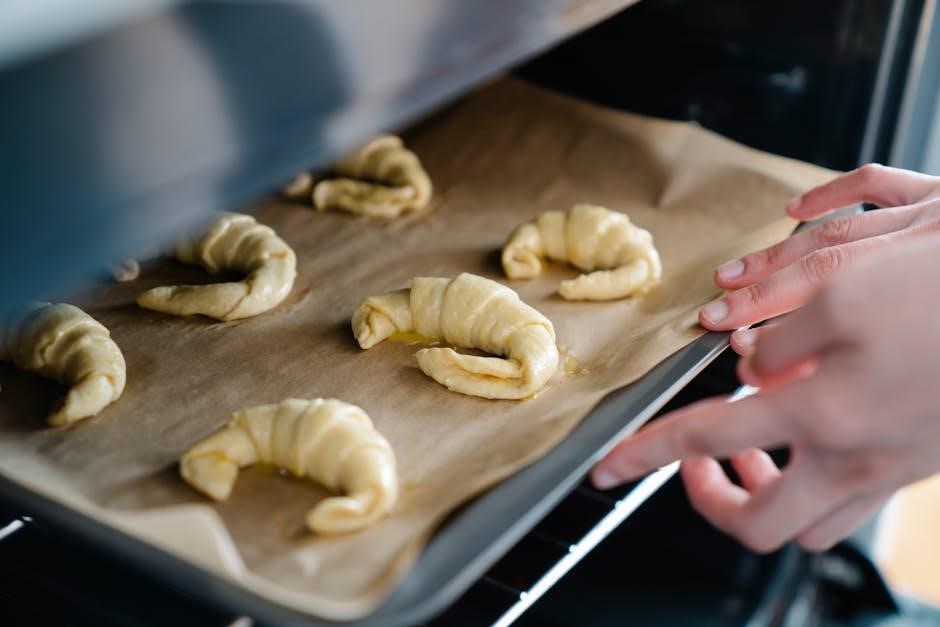
Air Fry Basket and Tray Usage
Maximize airflow for optimal crisping! The air fry basket promotes even circulation, delivering consistently golden results. Avoid overcrowding; work in batches for best performance. The included tray is perfect for larger items or foods that might fall through the basket’s openings, like delicate pastries or roasted vegetables.
Ensure the basket and tray are properly seated before starting the air fry function. Lightly coating the basket with oil spray prevents sticking and aids cleanup. Never use abrasive cleaners, as they can damage the non-stick coating. Proper usage extends the lifespan of your accessories.

Toasting with Your Cuisinart Oven
Achieve perfect toast! Utilize the intuitive shade settings for customized browning. Enjoy consistently golden results with ease and precision every morning.
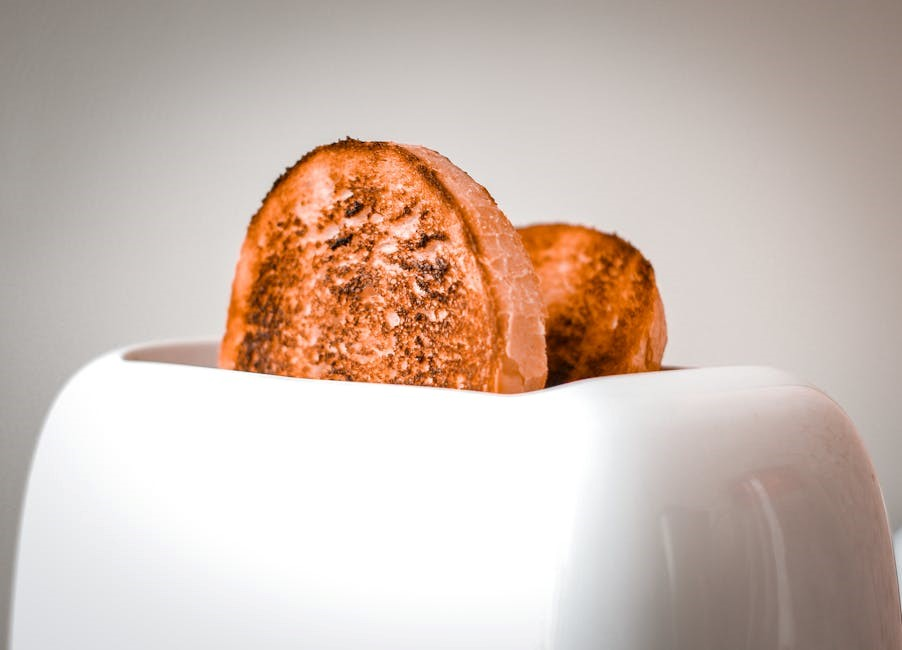
Toast Shade Settings
Mastering Toast Perfection: Your Cuisinart Digital Air Fryer Toaster Oven boasts a range of toast shade settings, allowing for precise control over your toasting results. Typically, settings range from 1 (lightest) to 7 (darkest), catering to diverse preferences. Experiment to discover your ideal shade for various bread types – white, wheat, rye, and bagels all toast differently.
Begin with a mid-range setting, like 3 or 4, and adjust accordingly. For frozen bread, a slightly higher setting is often necessary. Remember that bread thickness also impacts toasting time; thinner slices require lower settings. Consistent results are achieved by using the same setting for the same bread type each time. Observe the toasting process and fine-tune the shade setting to consistently deliver your perfect slice!
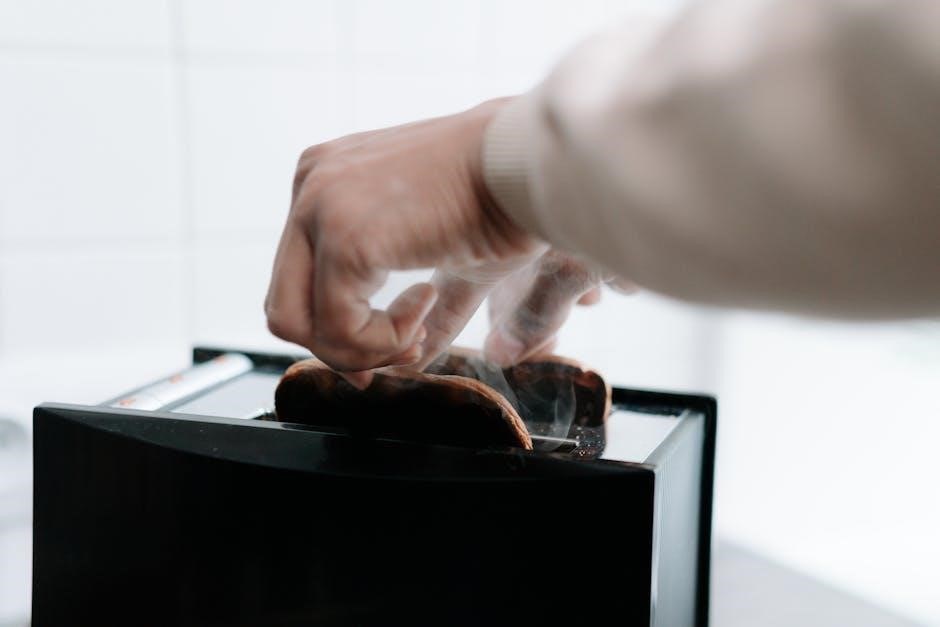
Achieving Even Toasting
Consistent Color, Every Time: For perfectly even toasting, ensure bread slices are of uniform thickness. Avoid overcrowding the rack; allow sufficient space between slices for optimal heat circulation. If toasting a full rack, rotating the bread halfway through the cycle can promote even browning.
The Cuisinart’s heating elements are designed for consistent performance, but occasional variations can occur. Preheating the oven briefly before toasting can also contribute to more uniform results. Regularly cleaning the interior, particularly any accumulated crumbs, is crucial for maintaining even heat distribution. Experiment with slightly adjusting rack position for optimal browning based on your bread type.
Bagel Setting – How to Use It
Perfectly Toasted Bagels: The dedicated bagel setting on your Cuisinart toaster oven is designed to toast the cut side of the bagel while gently warming the rounded side. This delivers a crispy exterior and a soft, chewy interior – the ideal bagel experience! Simply select the “Bagel” function on the control panel.
Adjust the toast shade setting to your preference, remembering that bagels generally require a slightly lower shade setting than sliced bread. Ensure bagels are placed cut-side towards the heating elements. For best results, avoid using excessively thick or thin bagels, as they may affect toasting consistency.
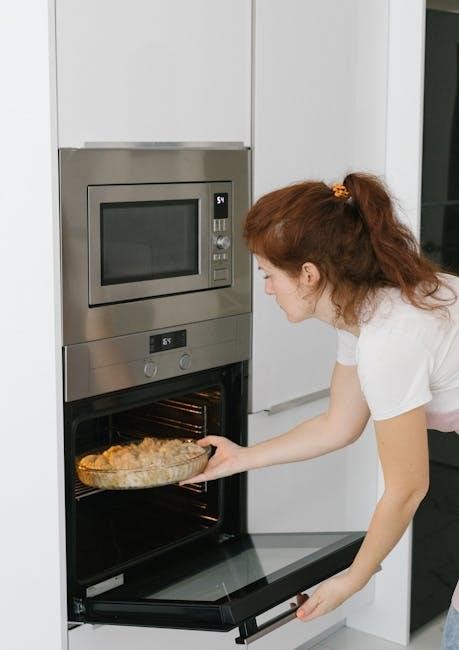
Baking and Broiling
Versatile Cooking: Explore baking and broiling capabilities with precise temperature controls and included accessories for delicious, evenly cooked meals every time.
Baking Temperature Conversions
Adapting Recipes is Easy! Converting traditional baking temperatures for your Cuisinart Air Fryer Toaster Oven ensures perfect results. Generally, reduce the recipe temperature by approximately 25°F (15°C) when using the bake function. This adjustment accounts for the concentrated heat and faster cooking times within the oven’s enclosed space.
For example, if a recipe calls for 375°F, set your Cuisinart to 350°F. Always monitor your food closely, especially during initial attempts, and adjust cooking times accordingly. Remember that smaller portions will cook faster. Utilize a reliable oven thermometer to verify internal temperatures for optimal baking success. Consistent monitoring and slight adjustments will yield consistently delicious baked goods!
Broiling Guidelines for Different Foods
Master the Art of Broiling! Broiling with your Cuisinart requires understanding food-specific guidelines. For thinner cuts of meat like chicken breasts or fish fillets, broil on the upper rack for 6-8 minutes, flipping halfway through. Thicker cuts, such as steak, benefit from the lower rack position and longer broiling times – around 8-12 minutes, flipping once.
Vegetables like bell peppers and zucchini broil beautifully in 5-7 minutes, watching carefully to prevent burning. Always marinate meats beforehand for enhanced flavor and moisture. Remember to leave the oven door slightly ajar during broiling to prevent overheating and ensure even cooking. Consistent observation is key to achieving perfectly broiled dishes!
Using the Bake Pan and Broil Rack
Optimizing Your Accessories! The included bake pan is ideal for casseroles, cookies, and roasting vegetables. Ensure it’s centered on the oven rack for even heat distribution. For baking, position the rack in the middle. When broiling, always utilize the broil rack, positioned appropriately – higher for quick browning, lower for slower, more thorough cooking.
Never use aluminum foil directly on the bake pan or broil rack unless specifically instructed in a recipe. Always preheat the oven before placing food inside. Proper rack placement is crucial for achieving desired results. Regularly inspect both the pan and rack for any signs of wear or damage before each use.

Cleaning and Maintenance
Keep it Sparkling! Regular cleaning ensures optimal performance and longevity. Dishwasher-safe parts simplify upkeep, while descaling maintains efficient heating elements.
Cleaning the Interior and Exterior
Maintaining a pristine Cuisinart is easy! Always unplug the oven and allow it to cool completely before cleaning. For the interior, wipe down surfaces with a damp cloth and mild dish soap. Avoid abrasive cleaners, as they can damage the non-stick coating. Stubborn grease may require a paste of baking soda and water – let it sit for a few minutes before gently scrubbing.
The exterior should be cleaned with a soft, damp cloth. Stainless steel surfaces can be polished with a stainless steel cleaner for a gleaming finish. Never immerse the oven in water! Ensure all cleaning solutions are thoroughly rinsed away before using the appliance again. Regular cleaning prevents buildup and ensures optimal performance.
Dishwasher Safe Parts
Simplify cleanup with dishwasher-safe components! Your Cuisinart Air Fryer Toaster Oven includes several parts designed for convenient dishwasher cleaning. These typically include the air fry basket, bake pan, broil rack, and crumb tray. Ensure these items are placed on the top rack to prevent damage from direct heat.
However, do not place the oven’s interior cavity, heating elements, or control panel in the dishwasher. These components require gentle hand washing. Always check the specific parts list in this manual to confirm dishwasher compatibility before loading. Proper care extends the life of your appliance and maintains optimal performance.
Descaling the Oven
Maintain peak performance with regular descaling! Over time, mineral deposits can build up inside your Cuisinart Air Fryer Toaster Oven, affecting its efficiency. To descale, mix equal parts white vinegar and water in a dishwasher-safe bowl. Run the oven on bake at 200°F (93°C) for 30 minutes with the solution inside.
Allow the oven to cool completely before wiping down the interior with a damp cloth. Repeat if necessary. Avoid harsh chemicals or abrasive cleaners, as they can damage the oven’s surfaces. Regular descaling ensures consistent heating and prolongs the appliance’s lifespan.
Troubleshooting Common Issues
Resolve problems quickly! This section provides solutions for heating issues, error codes, and uneven cooking, ensuring optimal performance from your Cuisinart oven.
Oven Not Heating
Diagnosis is key! If your Cuisinart air fryer toaster oven isn’t heating, first verify it’s properly plugged into a functioning outlet. Check the circuit breaker or fuse box to ensure power is reaching the appliance. Confirm the oven door is securely closed; a safety mechanism prevents operation when open.
Next, examine the control panel. Is a function selected, and are the temperature and time settings appropriately programmed? Sometimes, a simple reset can resolve the issue – unplug the oven for several minutes, then plug it back in. If the problem persists, consult the error code section of this manual, as specific codes can pinpoint the cause. If none of these steps work, contact Cuisinart customer support for assistance.
Error Codes and Their Meanings
Decoding the display! Your Cuisinart oven utilizes error codes to signal specific issues. “E1” typically indicates a temperature sensor malfunction, requiring service. “E2” suggests a heating element failure, also needing professional attention. “E3” often points to an issue with the internal circuitry or control board – do not attempt self-repair.
“E4” can signify an over-temperature condition; allow the oven to cool completely before restarting. If an error code appears repeatedly, or you’re unsure of its meaning, immediately discontinue use and contact Cuisinart customer support. Refer to the full error code list in the appendix of this manual for a comprehensive overview.
Food Not Cooking Evenly
Achieve consistent results! Uneven cooking often stems from overcrowding the air fry basket or bake pan. Ensure adequate space around food items for proper air circulation. Rotating food halfway through the cooking process is crucial for even browning and crisping. Verify the oven is positioned on a level surface; an uneven base impacts heat distribution.
Also, confirm you’re using the correct rack position for the chosen function. For air frying, avoid stacking food. For baking, consider using a baking stone for more uniform heat. Regularly calibrate the oven, if possible, following instructions in the settings menu.
Safety Precautions
Prioritize safety! Always follow provided instructions, ensuring proper electrical grounding and ventilation. Never operate the oven near flammable materials or water sources.
Important Safety Instructions
Read carefully before use! To prevent fire, electrical shock, and injury, always adhere to these guidelines. Never immerse the appliance in water. Unplug when not in use and before cleaning. Avoid touching hot surfaces; use oven mitts.
Ensure proper ventilation during operation. Do not operate with a damaged cord or plug. Supervise children closely when the oven is in use. Use only accessories recommended by Cuisinart. Avoid using extensions cords. This appliance is for household use only. Do not use outdoors. Always place the oven on a stable, heat-resistant surface.
Electrical Safety Guidelines
Prioritize safety! This Cuisinart oven operates on standard household electricity. Never operate the appliance with a damaged cord or plug – discontinue use immediately. Avoid using extension cords; plug directly into a grounded outlet. Ensure the voltage matches the appliance’s specifications.
Do not handle the plug or oven with wet hands; Unplug the oven before cleaning or when not in use. If the oven malfunctions or exhibits unusual behavior, disconnect it from the power source and contact Cuisinart support. Never attempt to repair the appliance yourself. Proper grounding is essential for safe operation.
Proper Ventilation Requirements
Ensure adequate airflow! Your Cuisinart Air Fryer Toaster Oven generates heat during operation. Maintain at least 6 inches of clear space around the sides and rear of the unit. Do not place the oven directly under cabinets or near flammable materials like curtains.
Avoid obstructing the ventilation openings; this can cause overheating and potentially damage the appliance. Proper ventilation is crucial for efficient performance and safety. Operate the oven on a heat-resistant surface. Never cover the oven during operation. Good airflow prevents steam buildup and ensures even cooking.